Print Labels or Envelopes from Recalls List
Print Labels or Envelopes
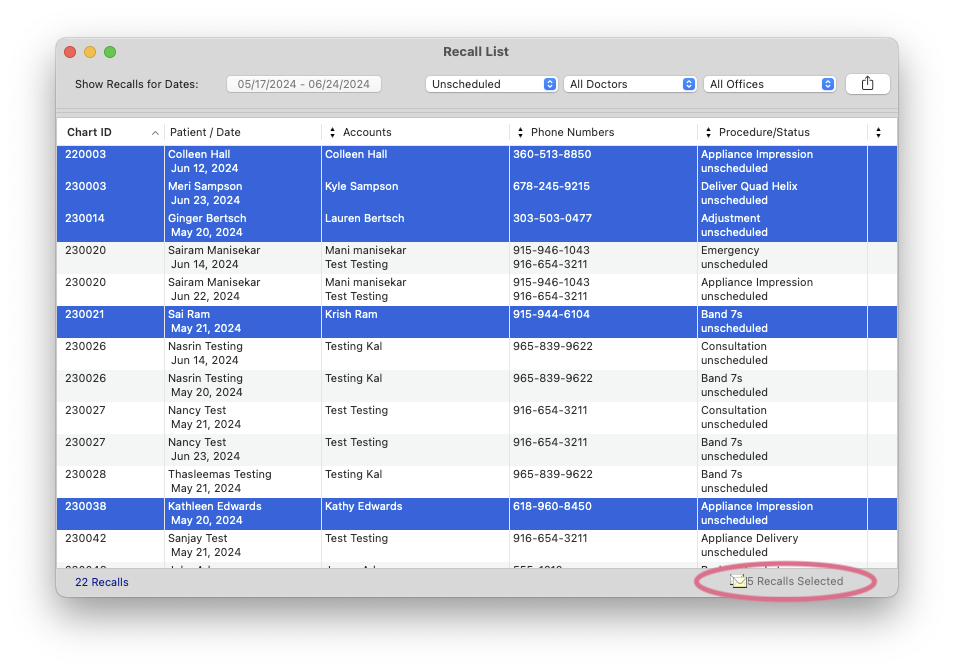
The Recalls list allows you to print labels with just a few steps.
- Go to Matrix > Recalls.
- Input a date range.
- Click Use Selected Date Range.
- The following options are available:
- Update the date range.
- Filter for All Statuses, Unscheduled, or Scheduled.
- Filter for specific doctors.
- Filter for specific offices within the practice.
- Click the triangle icon within the column header to select from a list of data options to display.
- If appropriate to the data displayed, the column header may display an arrow to indicate ascending or descending order.
- To indicate the patient labels to print, complete one of the following:
- For a single label, select the patient.
- Continuous List
- Click the first patient's name to include in the labels.
- Hold down the shift key and click the last patient's name to include in the labels.
- Non-continuous List
- Click a patient's name to include in the labels.
- Hold down the command key and click the patients' names to include in the labels.
-
The total number of patients selected display at the bottom of the window. Click the envelope icon.
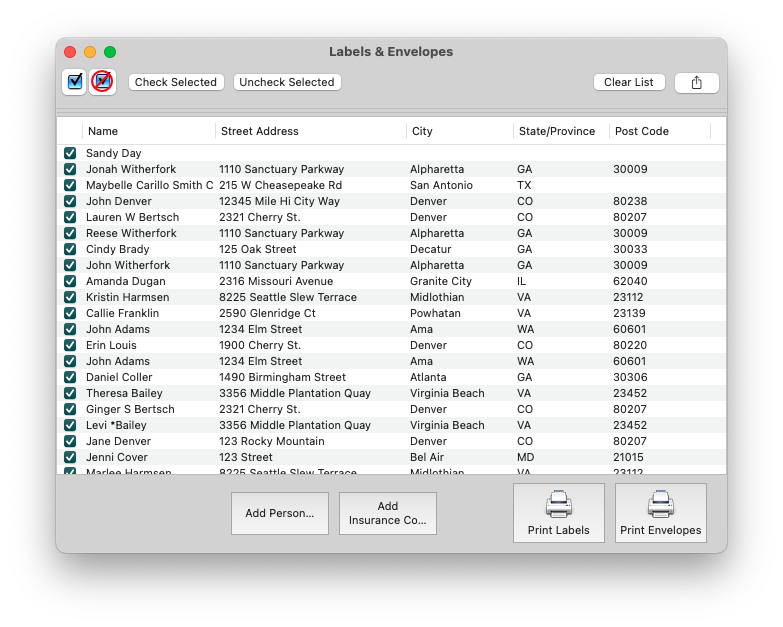
- In the Labels & Envelopes window, review your list indicated by the checkmarks beside their names. Tops will automatically populate the patient's address details, regardless of the column headers displayed in the Recall List.
- Click Print Labels or Print Envelopes
- Update the Label Paper field for labels; Update the Return address for Envelopes
-
Click Print Labels or Print Envelopes
- In the Print window, review the settings, and click Print.

