Patient Charts Cannot Be Deleted
Patient Charts Cannot Be Deleted
Once a patient chart has been created in Tops, it cannot be deleted. If a chart was created in error, including when a duplicate chart is created for the same patient, you should move any information that needs to be retained to the chart you plan to use and then clearly identify the unwanted chart to prevent future use.
Choose Which Chart to Keep
If two charts exist for the same patient, first determine which chart you will use moving forward. It is typically best to keep the older chart, as it often contains more of the patient’s history.
Before marking the unwanted chart as no longer in use, review it carefully and transfer any information that should be retained.
Transfer Treatment Notes
If the unwanted chart contains treatment notes:
- Click the Clinical tab.
- Go to File > Print.
- Export the treatment notes as a PDF and save the file to your desktop. For detailed instructions, see the related article Export/Print Treatment Notes below.
- Place the treatment notes PDF in the iPortfolio of the chart you are keeping.
Transfer Images
If the unwanted chart contains images:
- Locate each Image Set containing images.
- Highlight the first Image Set and click Browser…
- When the image drawer opens, click Export Images… in the bottom-right corner.
- The images will be saved in a folder on your desktop.
- Import the images into the chart you are keeping, making sure to assign the correct date.
- Repeat these steps for each Image Set containing images.
Address an Active Contract
If the unwanted chart contains an active contract, deactivate the contract and write off the balance. Then enter the appropriate contract in the chart you are keeping.
See the related articles Deactivate a Contract Without Insurance and Deactivate a Contract With Insurance below for additional instructions.
Transfer Notes and Alerts
In the unwanted chart:
- Click the Status/Notes/Alerts tab.
- Copy the contents of the Notes field.
- Copy any Scheduling, Financial, and Clinical/Medical Alerts.
- Paste the applicable information into the corresponding fields in the chart you are keeping.
Move Appointments and Recalls
In the unwanted chart, click the Appointments/Recalls tab.
If the chart contains scheduled appointments or recall target dates, delete them from the unwanted chart and reschedule or recreate them under the chart you are keeping.
Move Referrals
In the unwanted chart, click the Referrals tab.
If referrals are present, delete them from the unwanted chart and re-add them to the chart you are keeping. Be sure to assign the correct referral dates.
Transfer iPortfolio Files
In the unwanted chart, click the iPortfolio tab.
If the iPortfolio contains items that should be retained, drag them to your desktop and then place them in the iPortfolio of the chart you are keeping.
Reference the Unwanted Chart
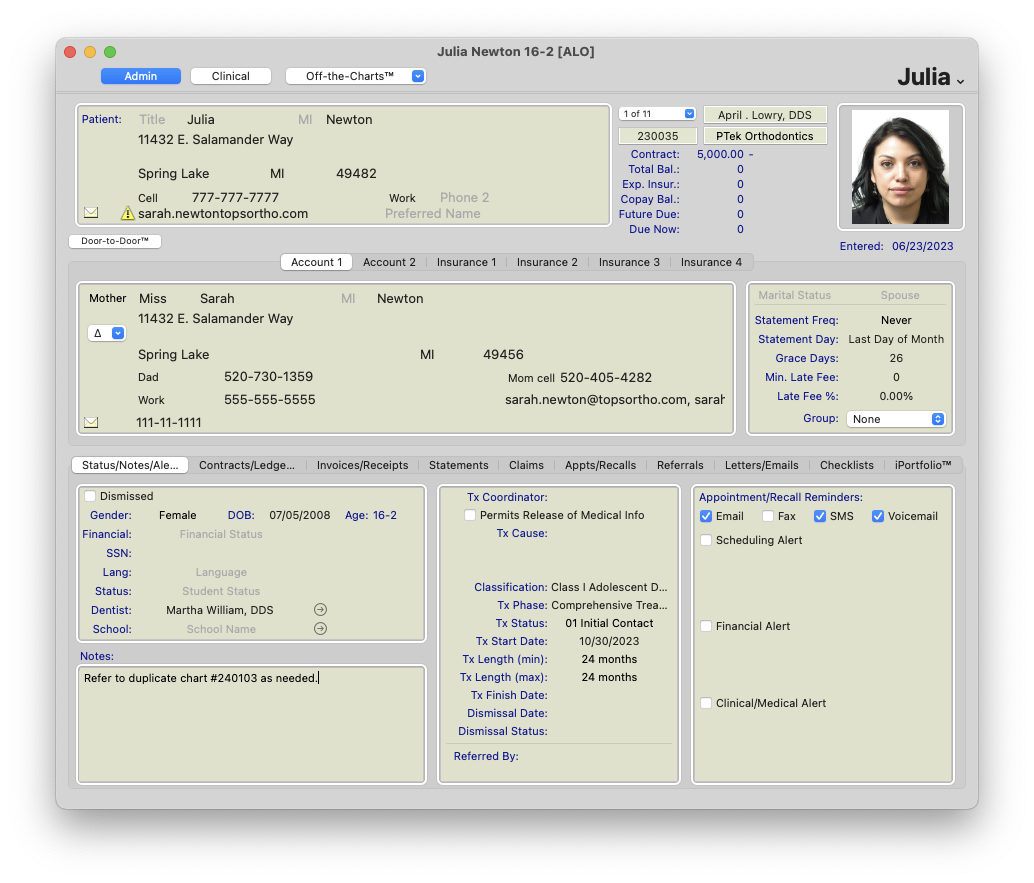
In the chart you are keeping, return to the Status/Notes/Alerts tab and enter a note such as:
Refer to duplicate chart #XXX as needed.
- Replace XXX with the Chart ID of the unwanted chart. This preserves a reference to information that may remain in the original chart.
Prevent Future Use of the Unwanted Chart
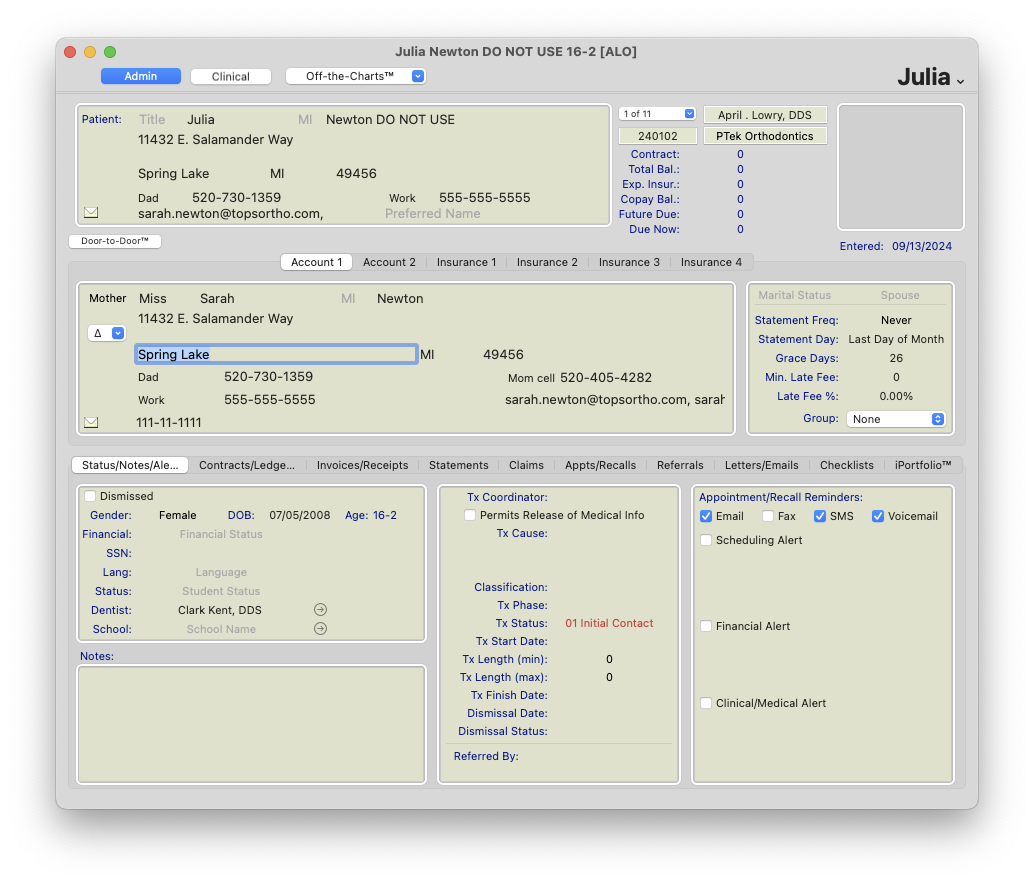
Because the unwanted chart cannot be deleted, clearly identify it so staff do not accidentally use it in the future.
We recommend either:
- Remove the patient’s first and last name from the unwanted chart, or
- Add “DO NOT USE” or “XXXX” to the name fields.
After completing these steps, use only the designated patient chart moving forward.