Wait Times - Add, Delete, Hide and Unhide
Would you like to edit the options in your Wait Time dropdown menu in your Treatment Notes? Here's how:

To Remove Wait Times:
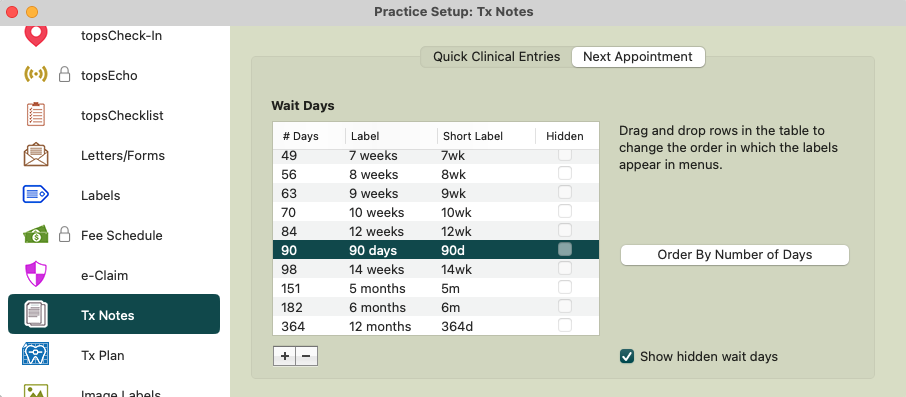
- Go to Tops Ortho > Practice Setup > Tx Notes.
- Click on the Next Appointment tab.
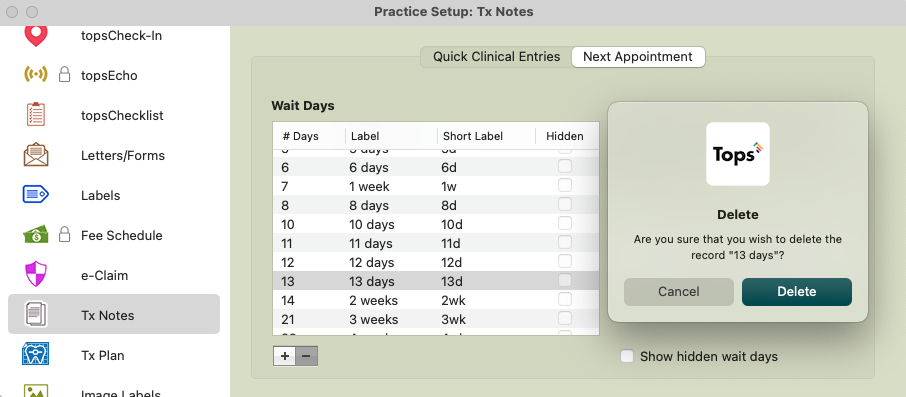
- Highlight the Wait Times you do not wish to see in the dropdown menu.
- Click the minus sign icon.
- A window will display asking if you are sure; click Delete.
To Add Wait Times:
- Go to Tops Ortho > Practice Setup > Tx Notes.
- Click on the Next Appointment tab.
- Click the + sign icon.
- A window will display; enter the number and unit of time (Days, Weeks or Months) you wish to add.
-
Click OK.


To Hide Wait Times:
Wait times that have been used in patient charts, cannot be deleted as they are historical. While they cannot be deleted, they can be hidden.
- Go to Tops Ortho > Practice Setup > Tx Notes.
- Click on the Next Appointment tab.
- Highlight the Wait Times you do not wish to see in the dropdown menu.
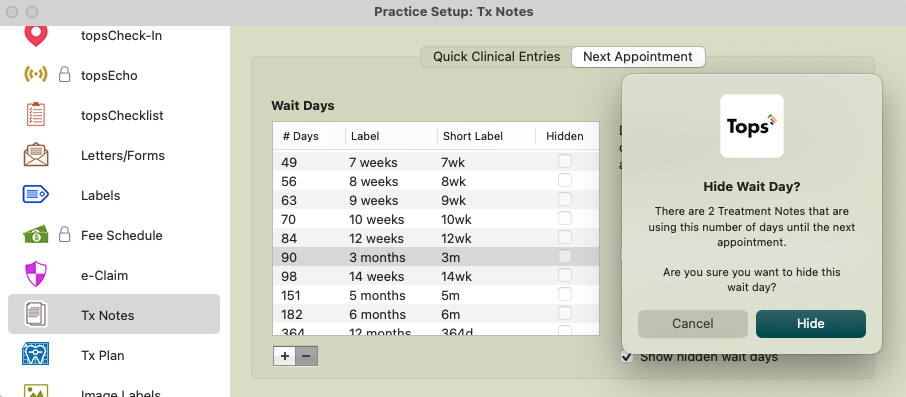
- Click the minus sign icon.
- A window will display asking if you want to Hide Wait Day and will indicate how many treatment notes are using the number of days until the next appointment.
-
Click Hide
- You can see your hidden wait times by checking the Show hidden wait days checkbox.

To UnHide Wait Times:
Unhiding wait times can be a bit tricky. Here's what we suggest.
- Go to Tops Ortho > Practice Setup > Tx Notes.
- Click on the Next Appointment tab.
- Make sure the Show hidden wait days checkbox is selected; locate your hidden wait day.
- Click the + sign icon.
- A window will display
-
Enter the number of days equivalent to the timeframe you need to unhide. (eg. 3 months = 90 days)
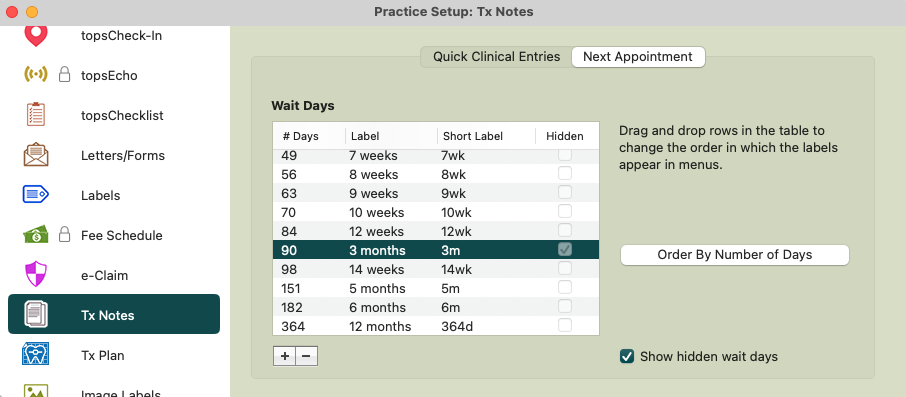
3 months is hidden 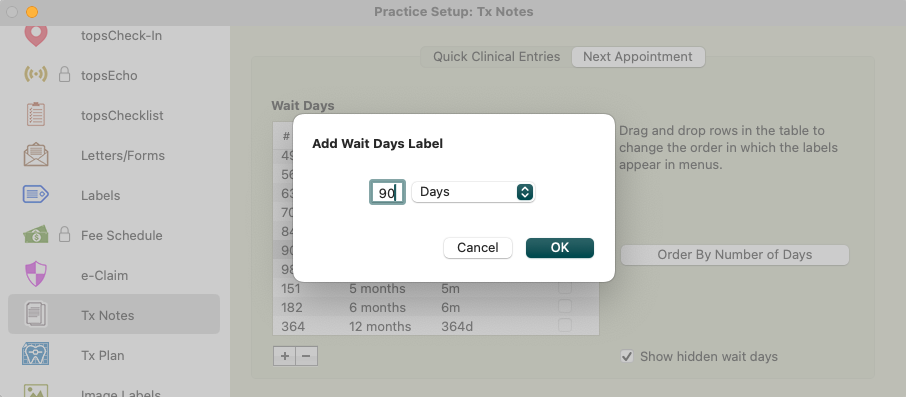
To unhide 3 months, click to Add 90 days


- Click OK.
-
A new window will appear indicating that the value already exists and is displayed by a different label. Click the button to Use "x days".


-
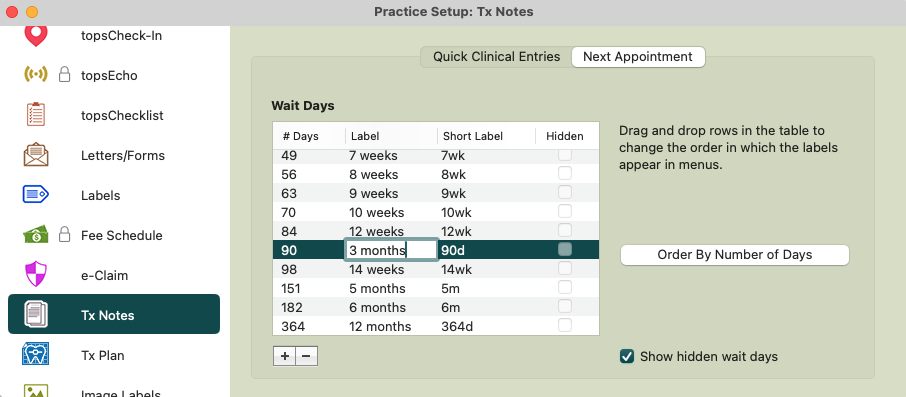
The hidden wait time is now unhidden, with the updated label.

-
Double-click on the label to rename it, if desired.

🎬 Watch a Quick Tip