NEW Set Up Custom Reminders in TopsDPX
If you have Reminders+ or Full TopsDPX, you can send customized reminders to specific appointment groups!
First, create your Patient Groups:
- Go to Comm > Tops Reminders.
- Go to Settings > Patient Groups.
- Click the + icon in the upper right corner.

- Give your group a name, such as Full Bandings.
- Select the Practitioners to be assigned to the group. Typically, you will select all practitioners.
- Under Treatments, select the appointment types that should belong to the group - check all that apply!
- Disregard the Operatories section.
- Patient Properties allows you to select demographics for your Patient Group if desired. If you do not wish to narrow down the demographics, leave them set to Any.
- When you are satisfied with your selections, click the checkmark to save the Patient Group. You can remove or delete Patient Groups at any time.
Next, add your Custom Reminder settings:
- Go to Comm > Tops Reminders.
- Go to Settings > Templates > Schedule.
- Scroll down to the first available Smart Reminder.
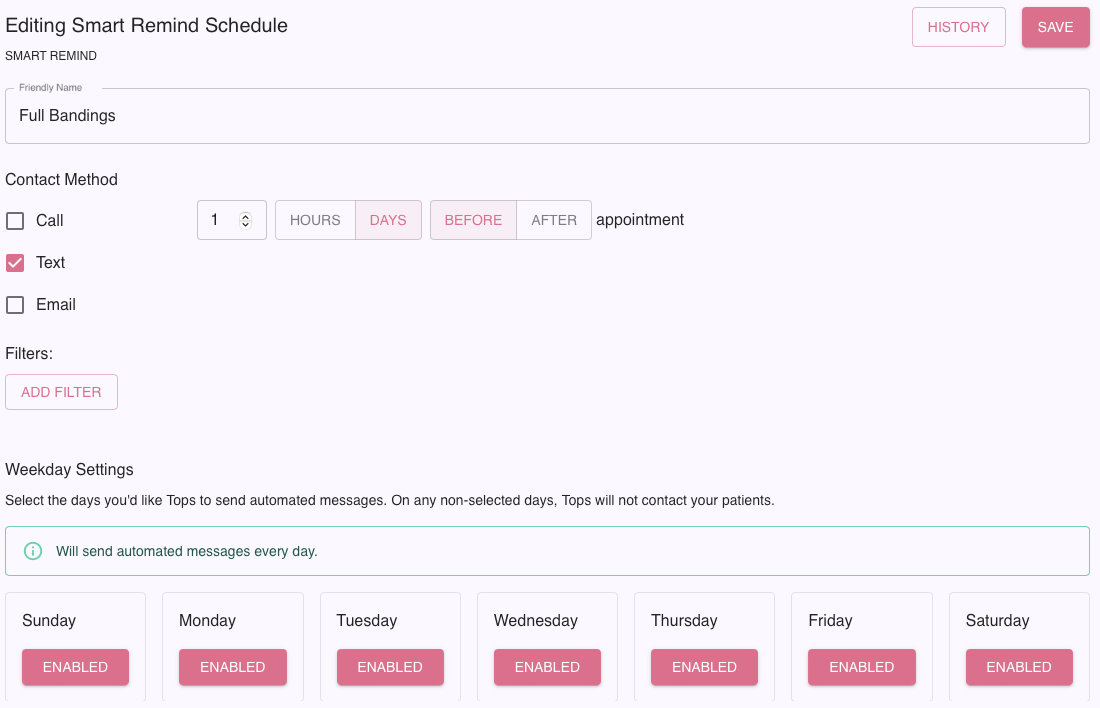
- Click the gear wheel icon to open up the settings for the Custom Reminder.
- Give the reminder a Friendly Name - in our example, we used "Full Bandings."
- Place checkmarks in the boxes for your preferred contact methods. In our example, we selected Text only, but you may select more.
- Enter the number of HOURS or DAYS and whether the reminder should go out BEFORE or AFTER the appointment.
- Scroll to the bottom and click to disable days of the week that you do not want this reminder to go out, such as weekend days.
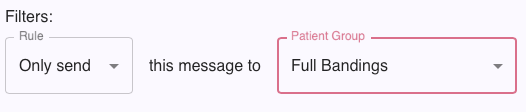
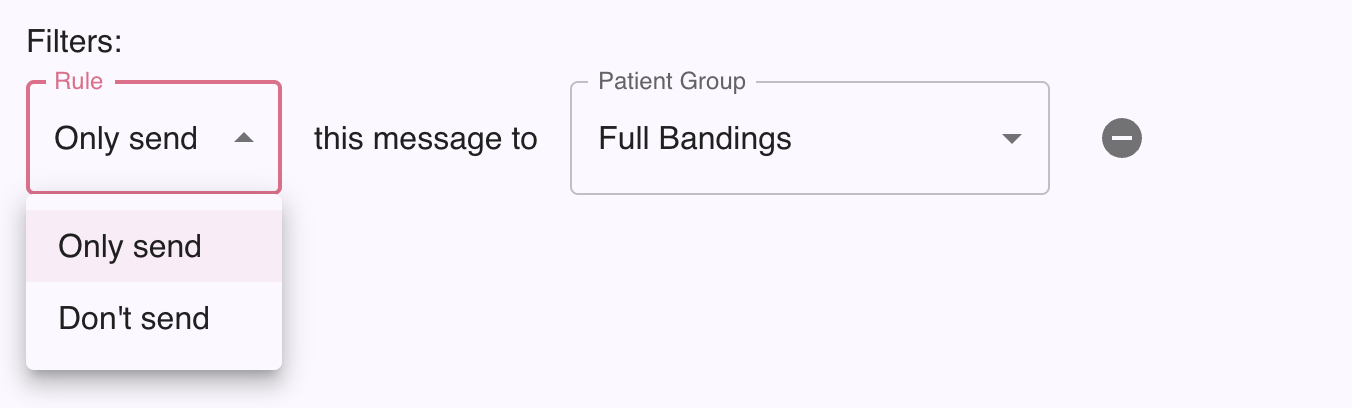
- Click on ADD FILTER.
- Select Only send.
- Select the Patient Group to which you want the Custom Reminder to send.
- Repeat for any other Patient Groups to which you want to send the Custom Reminder.
- Click SAVE.
- A window will display asking if you are sure you want to activate the reminder. Click Yes.
IMPORTANT: If you set a Custom Reminder to go out at the same time as a regular reminder:
- Go to the regular reminder filter settings
- Select "Don't send" and select the custom patient group
-
This will prevent the custom patient group from receiving two reminders on the same day

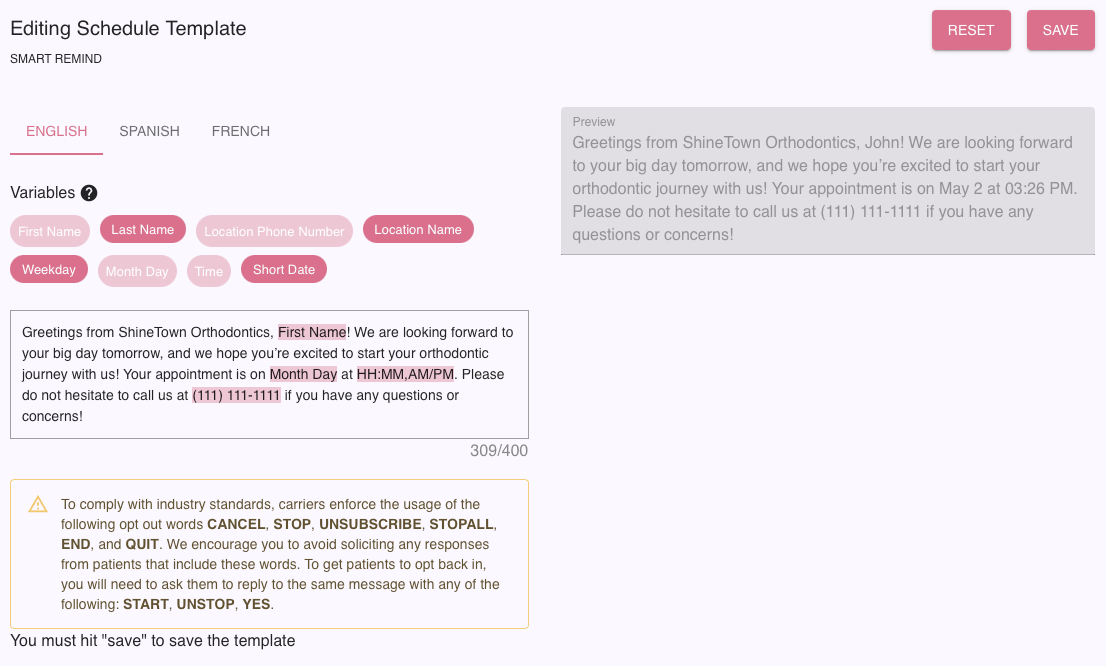
Finally, write your Custom Reminder:
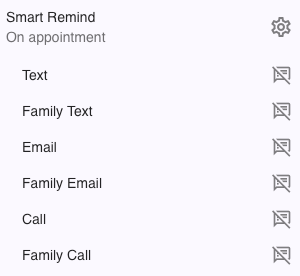
- Click on the Custom Reminder. It will now display your Friendly Name.
- Click on Text.
- Enter your reminder text. Add wording specific to the appointment type, such as "Don't forget to bring your retainers to your appointment!"
- If you wish to add variables, simply click on them to insert them in the template. These variables pull information from the Tops patient chart.
- Review the preview that shows on the right. When you are satisfied, click SAVE.
- Repeat this process for the other message methods you have selected, such as Family Text, Email, Family Email, Call and Family Call.