Appointment Confirmation Requests in TopsDPX
Confirmation Requests are different from scheduled Appointment Reminders and are sent independently. A Confirmation Request requires an action from the patient to confirm their appointment. While patients may view this as a reminder, it is a distinct message designed specifically to request confirmation. Scheduled Appointment Reminders are sent separately from Confirmation Requests and Confirmation Request reminders.
IMPORTANT: A Confirmation Reminder cannot be sent unless a Confirmation Request has already been sent. If a patient confirms after receiving their initial Confirmation Request, then they will not receive the Confirmation Reminder.
Access your Template Schedule Settings
You can customize your TopsDPX Confirmation Settings at any time!
Go to Comm > Tops Reminders.
Go to Settings > Templates > Schedule

On the left-hand side, click within the Templates list and scroll to view the Confirmation Request and Confirmation Reminder(s) settings that are in place.

Review or Modify the Content
If you wish to change the wording of the Confirmation templates, click Text, Family Text, Email and Family Email below the confirmation request or reminder.
- Update the message details for the individual and family settings, using Variables where needed.
- The Appointment List will list out all appointments for the patient(s) that are available for confirmation at the time of the request being sent.
- At this time, if the patient(s) has multiple appointments in one day, regardless of the Disable Stacked Reminder setting, the Appointment List variable in a text will list all appointments.
- A patient can reply to a confirmation request or reminder text to confirm the appointment(s) associated with the text. Please read What Confirms and Appointment in TopsDPX
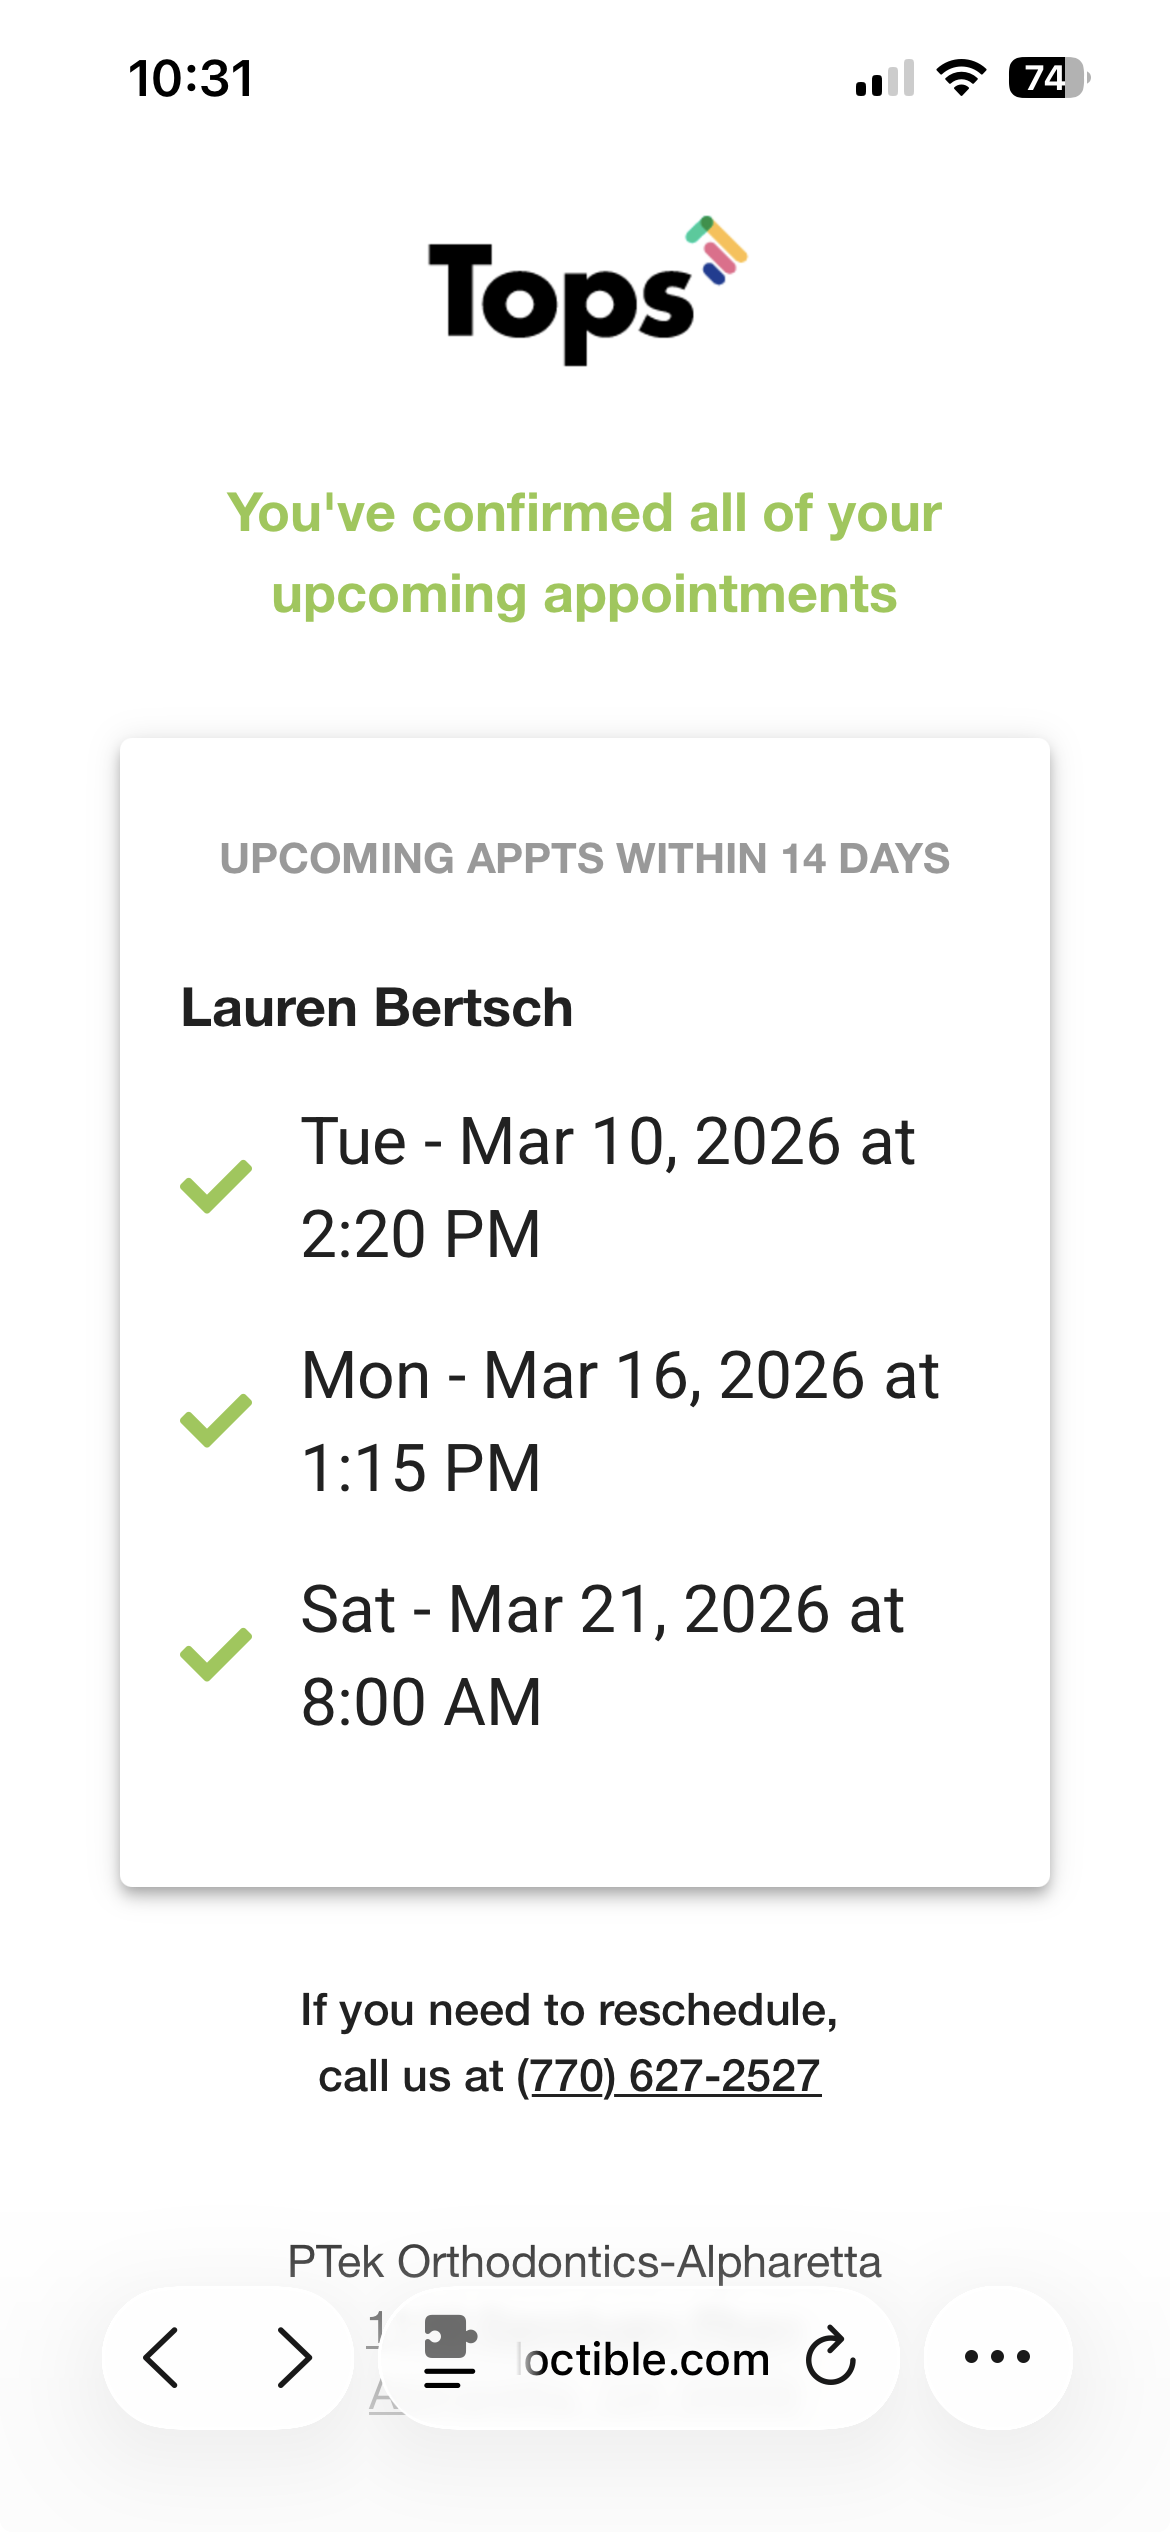
- Including the Appts URL in the Family Text allows a patient to see and confirm all qualifying appointments in the confirmation window.
- If the Disable Stacked Reminder setting is not enabled, and a patient(s) has multiple appointments on the same day, only the earliest appointment will appear in the Appts URL view for a patient to confirm. When the patient confirms the single appointment, all appointments in the course of the day for the specific patient will be marked as Confirmed.
- The Appts URL will update overnight with all appointments in the confirmation window, including rescheduled or cancelled appointments.
- The Appts URL link in a text will expire after the appointment has passed.
- The Appointment List will list out all appointments for the patient(s) that are available for confirmation at the time of the request being sent.
- The Preview will update to reflect your edits. When you are done, click Save.
| Appointment List and URL Example | Appointment URL - All upcoming appointments in the confirmation window | All Appointments Confirmed |
|
|
|
|
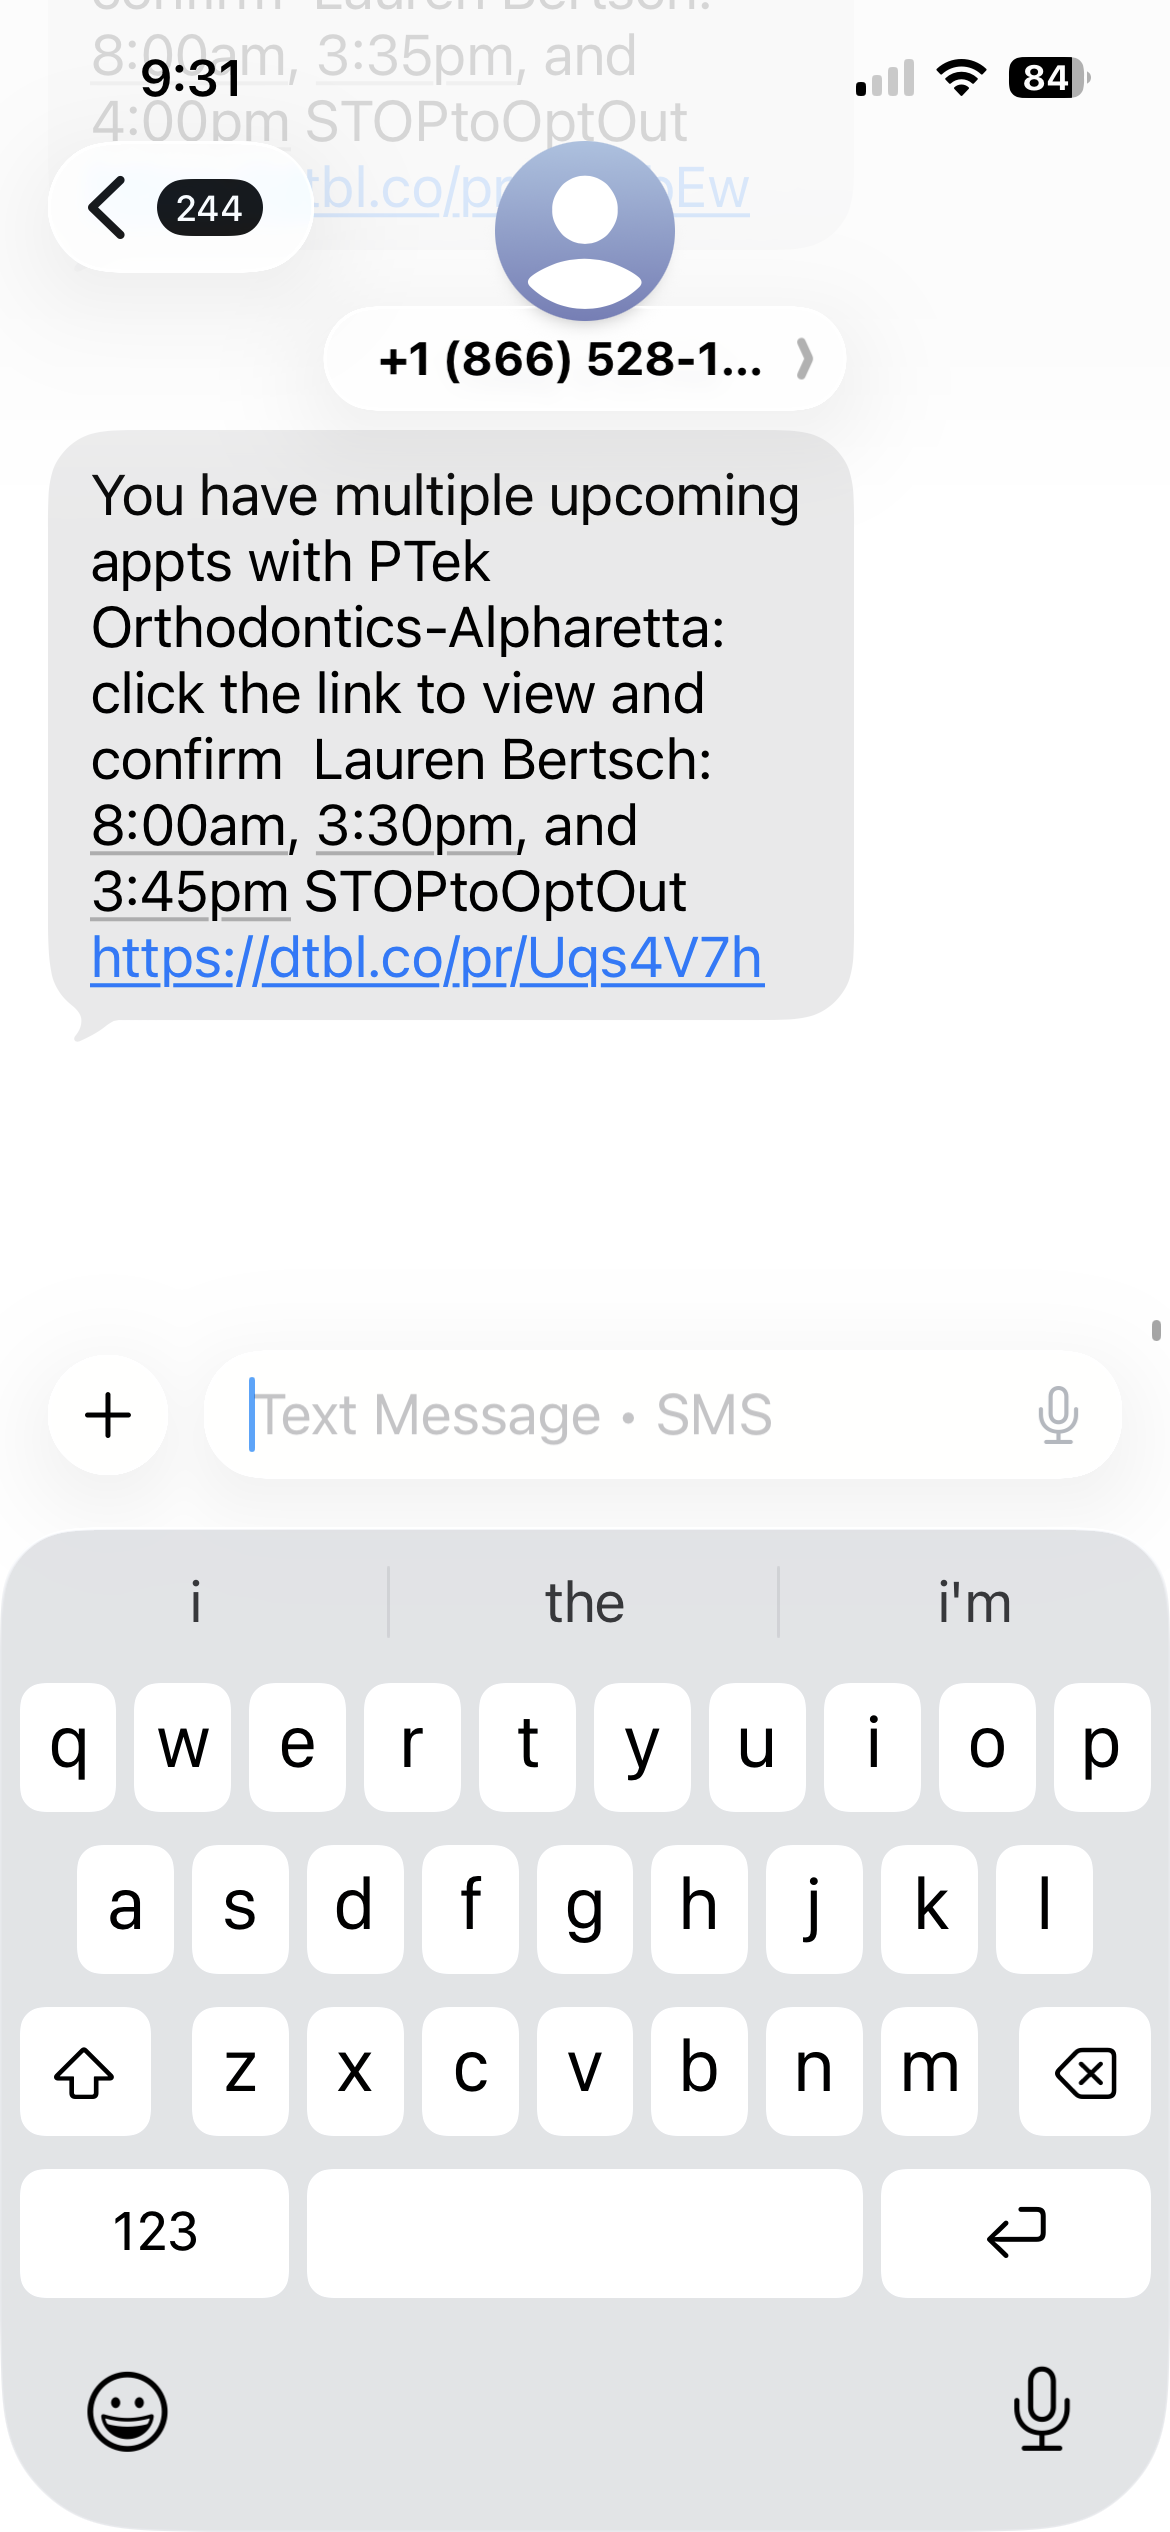

Note: Please do not remove/edit the STOPToOptOut wording at the end. This language helps prevent carriers from flagging your text as Spam.

Review or Modify the Contact Method, Recipients and Timing
Click the gear wheel ⚙️ if you wish to change the contact method, add patient group filters or adjust the timing for the Confirmation Requests/Reminders.
Contact Methods
Contact Method option include Call, Text and Email.
To disable a contact method, uncheck the contact method and click the Save button. Tops will prompt you to confirm the changes.
To enable a method, uncheck the contact method and click the Save button. Tops will prompt you to confirm the changes.
Tops Tip: If adding a contact method, make sure to customize or review the content of the individual and family methods.


Filters for specific Patient Groups
If it's necessary to specify recipients of the confirmation request or reminder based on their appointment type, add a Filter(s) to Only Send or Don't Send to a specific Patient Group. For more information on Patient Groups, see the articles references at the bottom of this page.
For the Filter button to appear, at least one Patient Group must be created.

Delivery Timing

Understanding Confirmation Requests
When updating the timing for Confirmation Requests and Confirmation Reminders, it’s important to understand how the timing window works.
The settings do not represent a single send date. Instead, they define a window of time during which an appointment is eligible to receive a confirmation request.
How the Timing Window Works
The “Starting X days before appointment” setting determines the earliest day an appointment becomes eligible to receive a confirmation request.
The “For a total of X days” setting determines how long that eligibility window remains open.

Example Scenario
A patient has an appointment scheduled for October 25.
The Confirmation Request is set to:
- Start 5 days before the appointment
- Run for a total of 1 day
This creates an eligibility window from:
- 5 days before the appointment
- Through 4 days before the appointment
In this example:
- Patients who scheduled their appointment on or before October 19 will receive a confirmation request 5 days before the appointment on October 20.
- Patients who schedule exactly 5 days before the appointment (on October 20) will receive the confirmation request after the system rolls over, which results in the request being sent 4 days prior to the appointment (October 21)
- Patients who schedule only 3 days before the appointment will not receive a confirmation request because they fall outside the 5–4 day eligibility window.

Why This Matters
This timing logic ensures that patients who schedule appointments close to their appointment date still receive a confirmation request, while preventing confirmations from being sent too late.
Weekday Settings
Unless you do not want messages to send to patients on certain days, we advise to have all days enabled.

How the Schedule Updates
When a patient replies with C, Confirm, Yes or OK to either an automated Confirmation Request or Confirmation Reminder, the "C" on their appointment in the Appointment Book will turn from red to green. See related article below to find out all the responses that confirm appointments. See the article below titled What Confirms an Appointment in TopsDPX.

Additional Customization
From the Schedule Template settings, scroll down to view the last settings listed.
There is a Thank you template and a Thank You Already Confirmed Template.
When a patient replies to an automated confirmation request or reminder, they will receive one of these two responses.
